
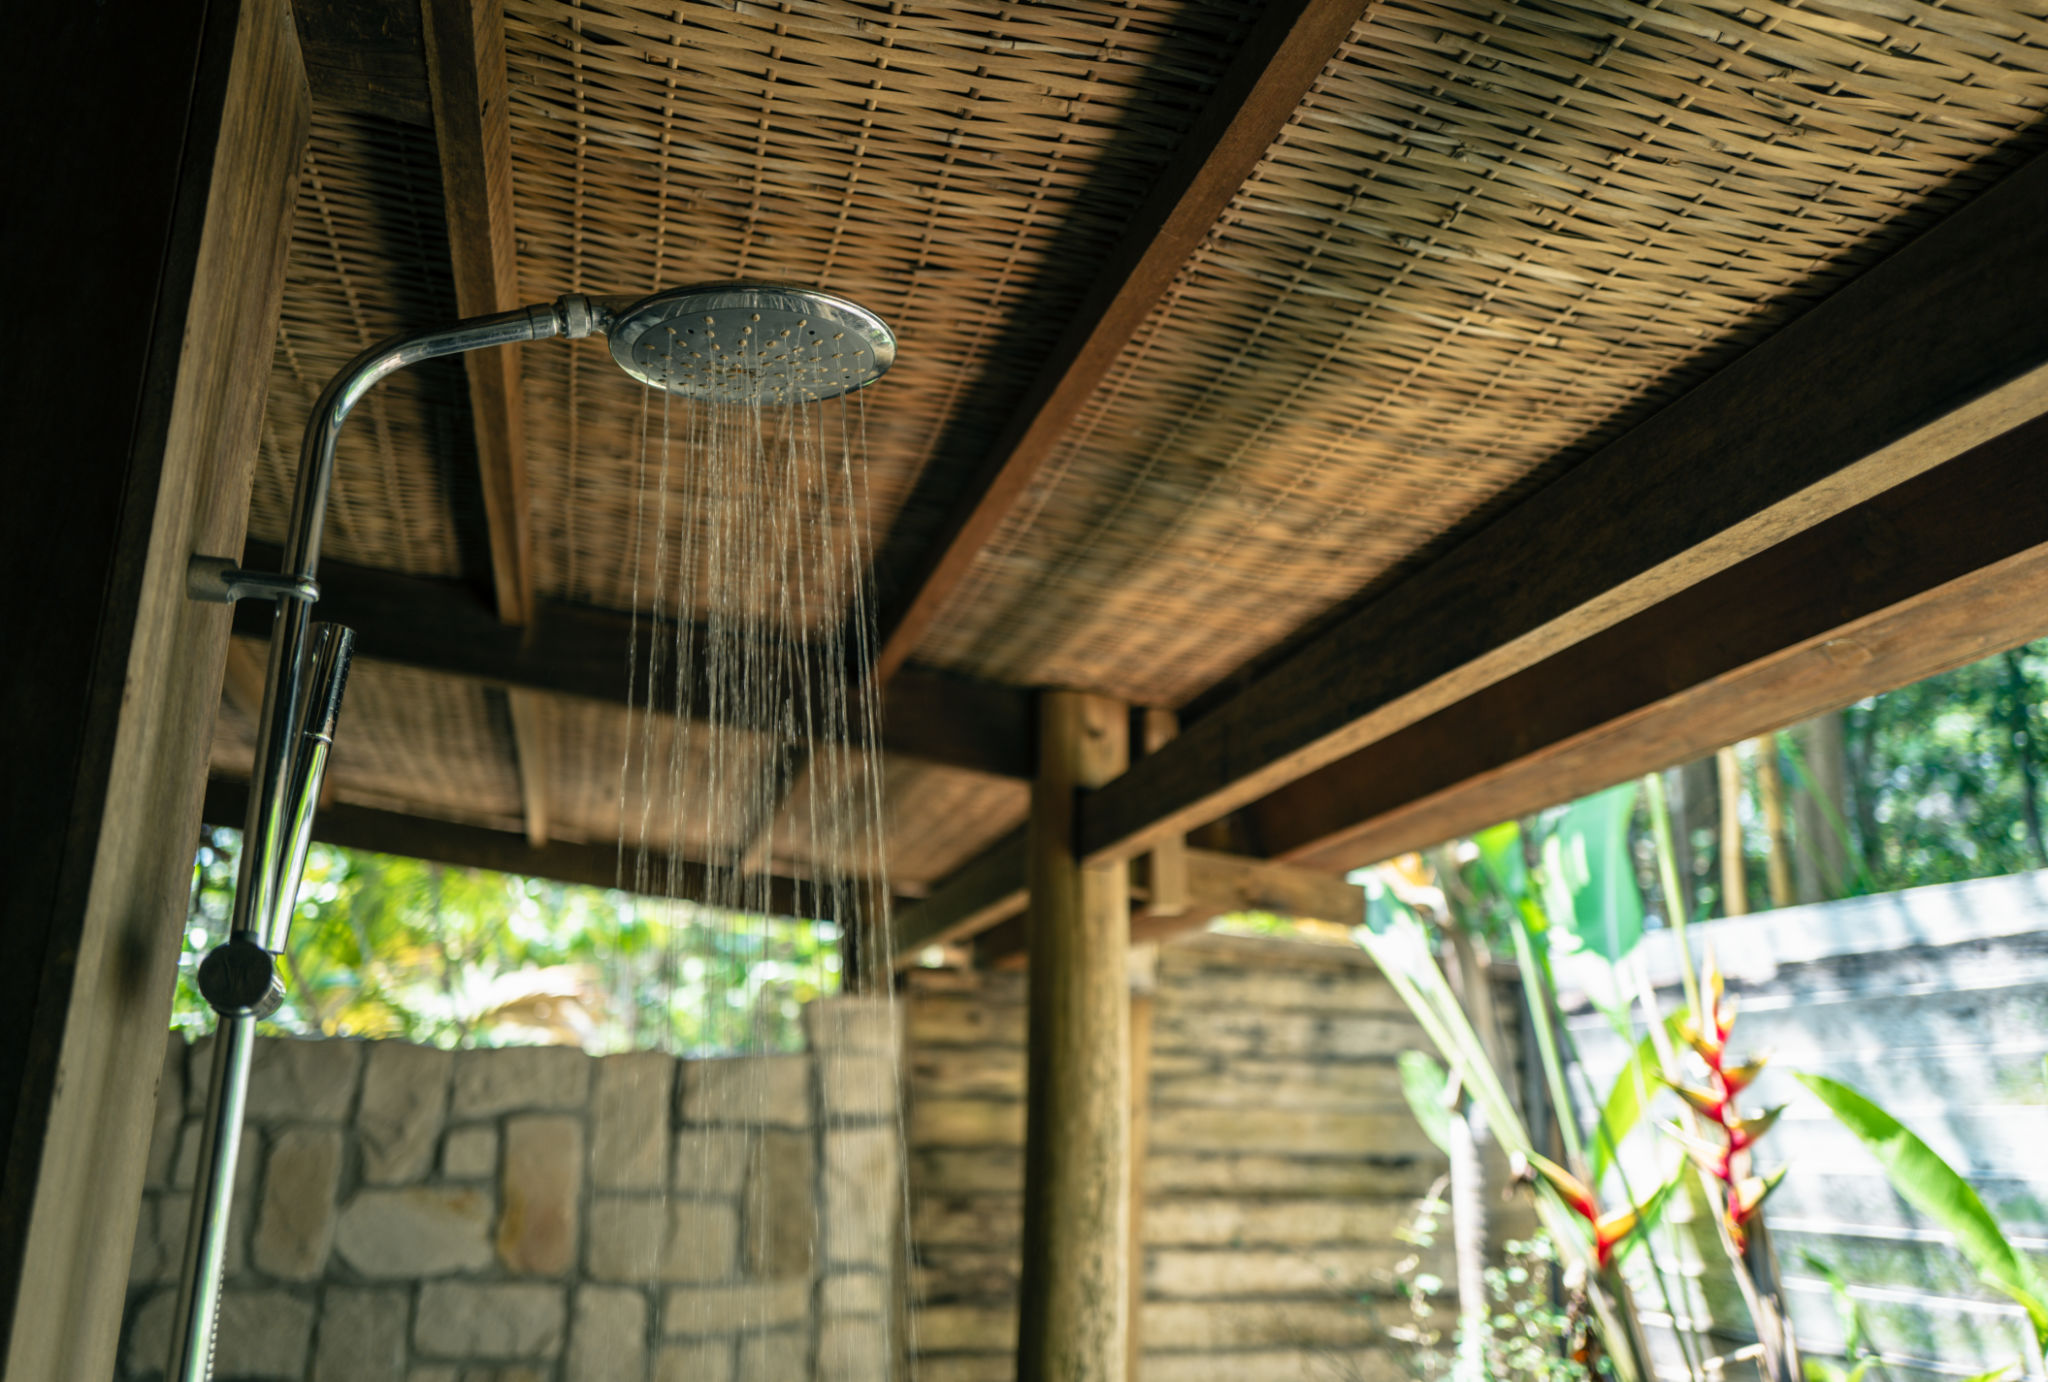
DIY Installation Tips for Your Energy-Saving Showerhead


Understanding the Benefits of Energy-Saving Showerheads
Energy-saving showerheads are a fantastic way to reduce water usage and decrease your utility bills. These devices are designed to limit water flow without sacrificing the quality of your shower experience. By installing one yourself, you can enjoy the dual benefits of conserving water and saving money. Additionally, many energy-saving showerheads come with features like adjustable spray patterns and self-cleaning nozzles.
Gathering the Right Tools and Materials
Before you begin the installation process, it's important to gather all the necessary tools and materials. Typically, you will need a wrench or pliers, plumber's tape (also known as Teflon tape), and a cloth to clean the area. Having these items on hand will make the installation process smoother and less time-consuming.
Checking the Compatibility
Ensure that the energy-saving showerhead you purchased is compatible with your existing shower arm. Most showerheads fit standard sizes, but it's always a good idea to double-check before starting. This will prevent unnecessary trips to the hardware store and ensure a seamless installation.
Removing the Old Showerhead
To remove the current showerhead, start by turning it counterclockwise with your hand. If it's too tight, use a wrench or pliers to loosen it. Be gentle to avoid damaging the shower arm. Once removed, clean any residue or debris from the shower arm threads using a cloth. This will help ensure a snug fit for your new energy-saving showerhead.
Applying Plumber's Tape
Wrap plumber's tape around the threads of the shower arm. This step is crucial as it prevents leaks by creating a watertight seal when you attach the new showerhead. Use two to three layers of tape, wrapping it in a clockwise direction to align with the threading direction.

Installing the New Energy-Saving Showerhead
Once you've prepared the shower arm, you're ready to install your new showerhead. Screw it onto the shower arm by hand, turning it clockwise until it's snug. Avoid using tools at this stage to prevent over-tightening, which could damage the fixtures.
Tightening and Testing
If necessary, use a wrench or pliers to gently tighten the connection, but be cautious not to overdo it. Turn on the water to check for leaks. If there are any, tighten slightly more or add additional plumber's tape as needed. Confirm that the water flow is as expected and that all settings work properly.

Maintaining Your Energy-Saving Showerhead
Regular maintenance will ensure your energy-saving showerhead continues to operate efficiently. Clean it periodically by soaking it in vinegar to remove mineral deposits. Also, check for clogs or reduced water flow, which might indicate it's time for cleaning or further inspection.
Enjoying Long-Term Benefits
By following these simple DIY installation tips, you'll not only save money on professional installation costs but also contribute to environmental conservation efforts by reducing water usage. Enjoy your new energy-efficient shower experience!